How to set up your Facebook Shop and sell products
What's the story
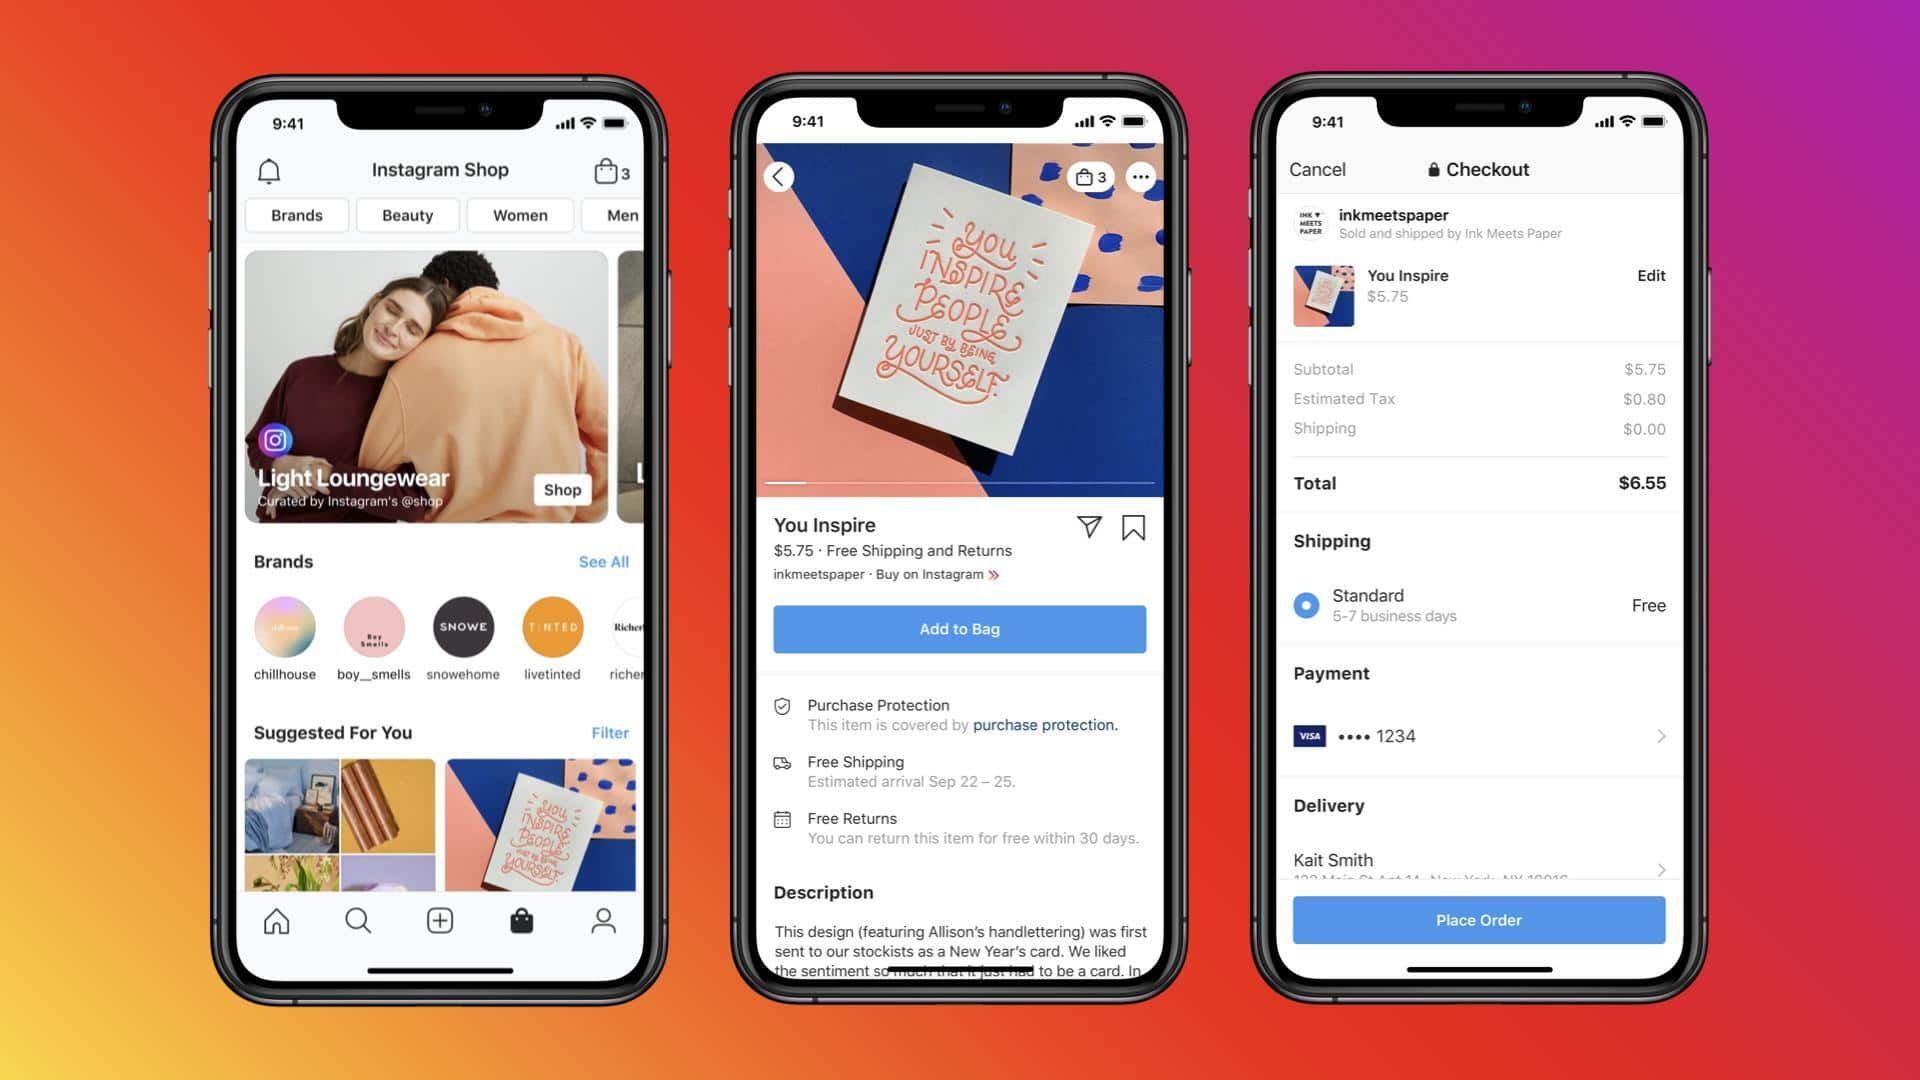
Facebook Shops, an online marketplace built into Facebook, lets users discover and buy products directly from the app, where they are shown a personalized feed of brands and items according to their interests. For small-business owners aiming to build an audience, strengthen brand, and increase sales, Facebook Shops is an ideal starting point. It will allow you to create a complete online store right on your Facebook business page, enabling your customers to make purchases without ever leaving the platform.
Requirements
Eligibility criteria for Facebook Shops
To feature products on Facebook Shops, businesses need to meet certain eligibility criteria set by Meta. These include selling physical items, having an established online presence, and complying with Meta's and Facebook's policies. Businesses also need to verify their domain if they have a website directing shoppers to Facebook, meet location requirements based on where they want to sell, and provide clear information about product availability, pricing, returns as well as refunds.
Setup process
Setting up a Facebook Shop: The initial steps
The first step for a business to create a Facebook Shop is to set up a Facebook page, if it doesn't already have one. To create a Facebook business page, log into your Facebook profile, click the Menu button, and select "Page" from the Create menu. Add a cover photo, profile picture, and detailed business info. Next, create your shop page and click "Next." If you're already selling on Shopify, you can set up your shop by syncing your products.
Checkout process
Implementing checkout process
When setting up a Facebook shop, you have three checkout options: Checkout on another website: Customers are directed to your ecommerce site for payment. Checkout with messaging: Customers arrange payment through Facebook Messenger or WhatsApp. Checkout on Facebook: Customers buy directly on Facebook, boosting convenience, but without Shopify's enhanced shipping options or tax-included pricing. Meta charges some processing fee for credit card transactions, and Shopify may charge additional fees. A bank account and business address are required for setup.
Catalog selection
Selecting a catalog and finalizing setup
The next step is to select a catalog, which holds details of the products businesses advertise/sell. If they already have a product catalog on Facebook for advertising products, they can use it for their shop. Otherwise, Facebook will automatically create an empty folder, which can be filled with items later.
Delivery service
Set your shipping and returns
Once you have made a catalog, determine your shipping methods and return policies, and provide the relevant details including shipping locations, handling time, minimum cart value for free shipping, delivery times, return policy window. Make sure to add an email for inquiries and support. You can also offer shoppers the option to subscribe to your email list during checkout or from your shop's homepage. To finalize the setup, review shop details, confirm everything's correct, and agree to Facebook's seller agreement.
Customization
Managing your catalog and its appearance
Now that your shop is set up, you can manage your catalog by adding products you want to sell. If you've synced your Shopify store with Facebook, products will automatically appear in your Facebook store. You can also organize products into collections to help customers browse easily. Collections can be based on categories, seasons, or any grouping. Facebook also lets you customize your shop's appearance by adjusting button colors and highlighting new collections at the top of your shop.