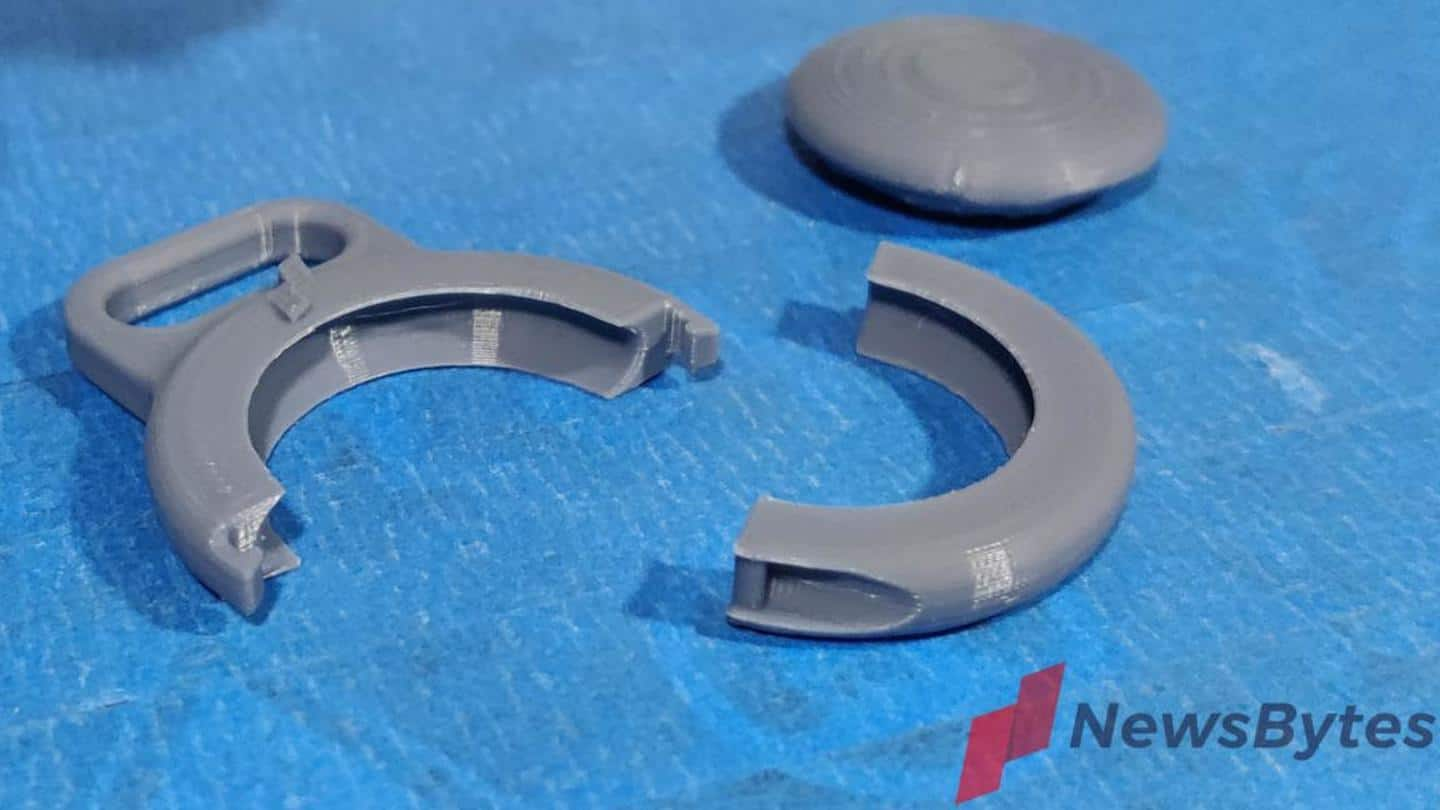
Here's how we designed and 3D printed free AirTag case
What's the story
The AirTag might be an engineering marvel, but Apple forcing users to spend on mandatory cases left a sour taste in our mouths. That's why we came up with a free AirTag case that you can download and 3D print for free. Stick around to learn how we went about this challenge and how you can leverage 3D printing to defeat Apple's predatory practices.
Greed over engineering
AirTag's dubious design compels users to purchase third-party cases
Although the Samsung Galaxy SmartTag++ and Apple AirTag use the same underlying ultra wideband (UWB) technology to enable precision tracking, they have a conspicuous design difference. The Samsung's tracking tag comes with a convenient hole that allows it to be attached to virtually anything with consummate ease. But Apple compels you to spend another Rs. 3,000 on an accessory to make it usable.
Maker spirit
Not letting Apple take our lunch money this easy
An official AirTag case may be chump change for the typical Apple user, but the true spirit of this endeavor involves resisting a trillion-dollar corporation using dubious design practices to force overpriced accessories onto users. While iFixit offered a quick solution by drilling a hole into the AirTag, we tapped into the phenomenal potential of additive manufacturing to create a 3D printed AirTag case.
Open source
How to download NewsBytes's 3D printed AirTag case for free
You can download our 3D printable model of the AirTag case free of charge from here, but stick around to also find out how we went about designing and rapidly prototyping it. Additionally, we have also included optimal slicer software settings and tuned the 3D model to ensure that your AirTag case prints successfully on the first attempt.
Cloning the tag
A glimpse into the transformative potential of 3D printing
The design, modelling, and prototyping was split between our two-member team, but the 700-odd kilometers separating us in the middle of a deadly COVID-19 wave made logistics challenging. We could've bought another AirTag, but we didn't want to encourage Apple's business model of compromising product design to sell more accessories. We got around this by using our lone AirTag to create a 3D-printed dummy.
Occam's razor
Making the design elegant enough to be printable by everyone
We considered a number of case designs ranging from the unibody friction fit kind to hinged ones that print in place. However, our main goal was to make this case as accessible as possible. Although the aforementioned designs are elegant, majority of 3D printers aren't precise enough to print those successfully. We therefore decided upon a simpler snap-fit design consisting of two semi-circular halves.
Optimizing geometry
Understanding the design process: The devil is in the details
Our AirTag case model went through several iterations, with dozens of prototypes 3D printed to finetune the strength, fitment, durability, and printability of the design. The images alongside comparing two snap-fit retention prong designs is a good example of how subtle changes in model geometry makes the difference between the mechanism working as intended or spectacularly failing to snap in place.
Emphasis on accessibility
Optimizing print settings for popular printers such as Ender 3
At NewsBytes's test labs, we prefer prototyping with PETG, ABS, ASA, and Nylon, but those plastics require sophisticated 3D printers and a fair bit of user skill. For the sake of accessibility, all prototyping was done using the ubiquitous and easy-to-use PLA filament. That's also why all tolerances have been optimized to print well with standard 0.4 mm nozzle at 0.2 mm layer height.
Tuning supports
Ultimaker Cura specific slicer settings for support generation
The female (bottom) half of the model is designed to print without requiring any support material, but the prongs on the male half need supports. Ultimaker Cura slicer software users should set support structure type to Normal and make sure that Support Placement is set to Touching Buildplate. This way, the slicer will automatically add support to the prongs without generating them anywhere else.
Ideal approaches
Here are general support generation strategies for other slicers
Other slicer software users can resize and place custom support blockers to prevent unwanted support. Alternatively, if your slicer software allows custom support placement, you can directly place supports underneath the prongs. You can see the ideal support placement in the image alongside. You must ensure that the cyan support structures are present beneath the prongs and nowhere else in the model.
Prevent warping
Recommend using brims even if your printer is dialed in
We highly recommend adding a brim while slicing the 3D model, even if your printer is dialed in and has excellent bed adhesion. The presence of fillets at the bottom edge makes the 3D print more prone to warping and curling. This can have a negative impact on the model geometry and make it harder for the two halves to snap-fit together as intended.
Next up: Cats
Vote with your wallet: Say no to Apple's predatory practices
If you are facing difficulty 3D printing this model, drop us an email (click on the email icon) and we'll be happy to help. Even if you don't own a 3D printer, find someone to print this for you. The only way to stop Apple's predatory consumer practices is by voting with your wallet. All 3D Modelling was done by Chandraveer Mathur.