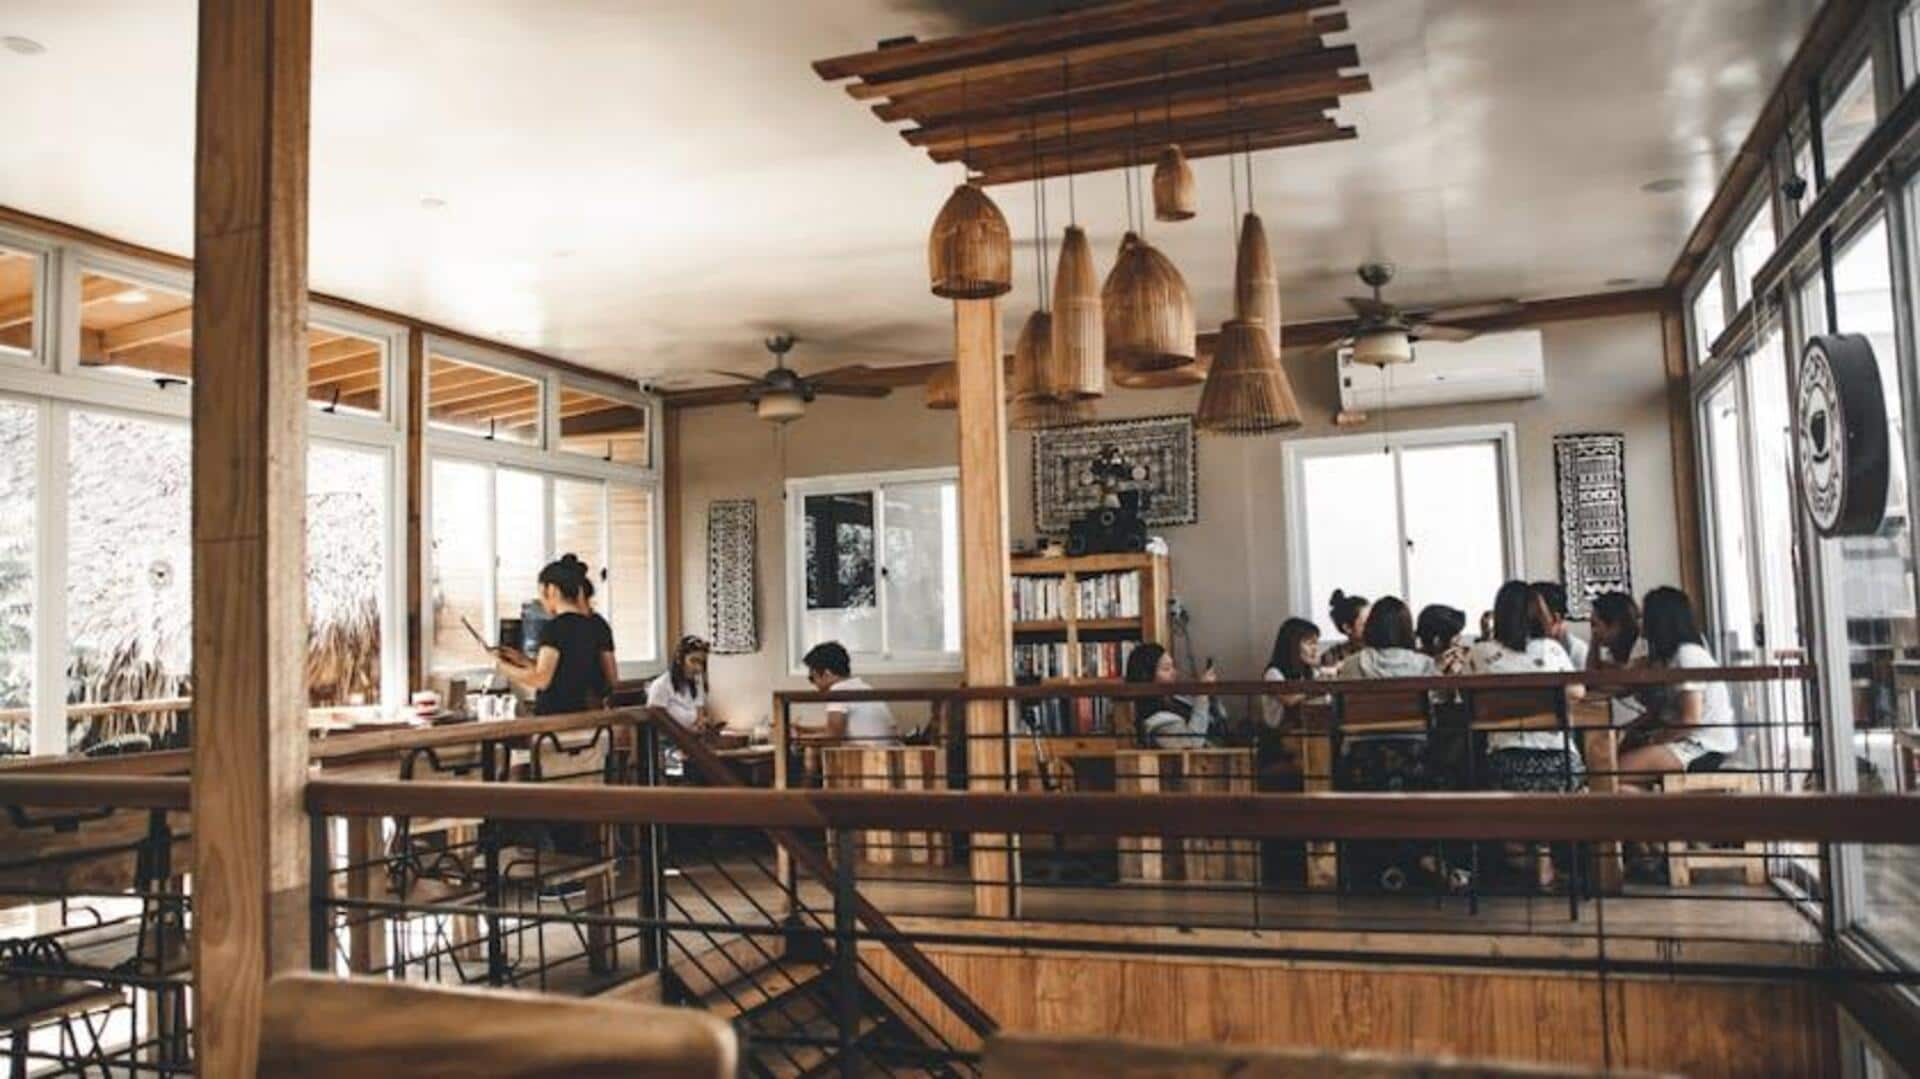
Guide to set table preferences on Zomato for Android
What's the story
The Zomato app for Android takes the hassle out of reserving your favorite restaurant. In a few simple taps, you can now specify dining preferences, ensuring your meal experience is that much more enjoyable. This step-by-step guide will walk you through using the new "Table Preferences" feature when booking your next reservation on Zomato - from downloading the app to confirming your booking.
Searching and booking
Finding and booking your ideal restaurant
Once you have Zomato installed on your Android, you can easily search for restaurants by name, cuisine, or dish. Simply select your desired option to view its location, menu, reviews, and the Book a Table option. The latter is the key - you can make reservations and specify dining preferences.
Specifying preferences
Customizing your dining experience
After clicking on "Book a Table," enter the details such as the date, time, and the number of diners. Here, you can request special things like a high chair or a table by the window. Although not all requests can be fulfilled by every restaurant, specifying your preferences may increase the likelihood of accommodation.
Managing bookings
Ensuring smooth reservation management
After ensuring your reservation details and preferences are accurate and tapping "Confirm," it's crucial to know how to handle your booking post-confirmation. If plans change or adjustments are needed—like time or the number of guests—Zomato allows you to easily modify or cancel reservations directly from the "Bookings" section in the app. This feature provides additional flexibility and control over your dining plans.