Refresh your mind with DIY paper marbling
What's the story
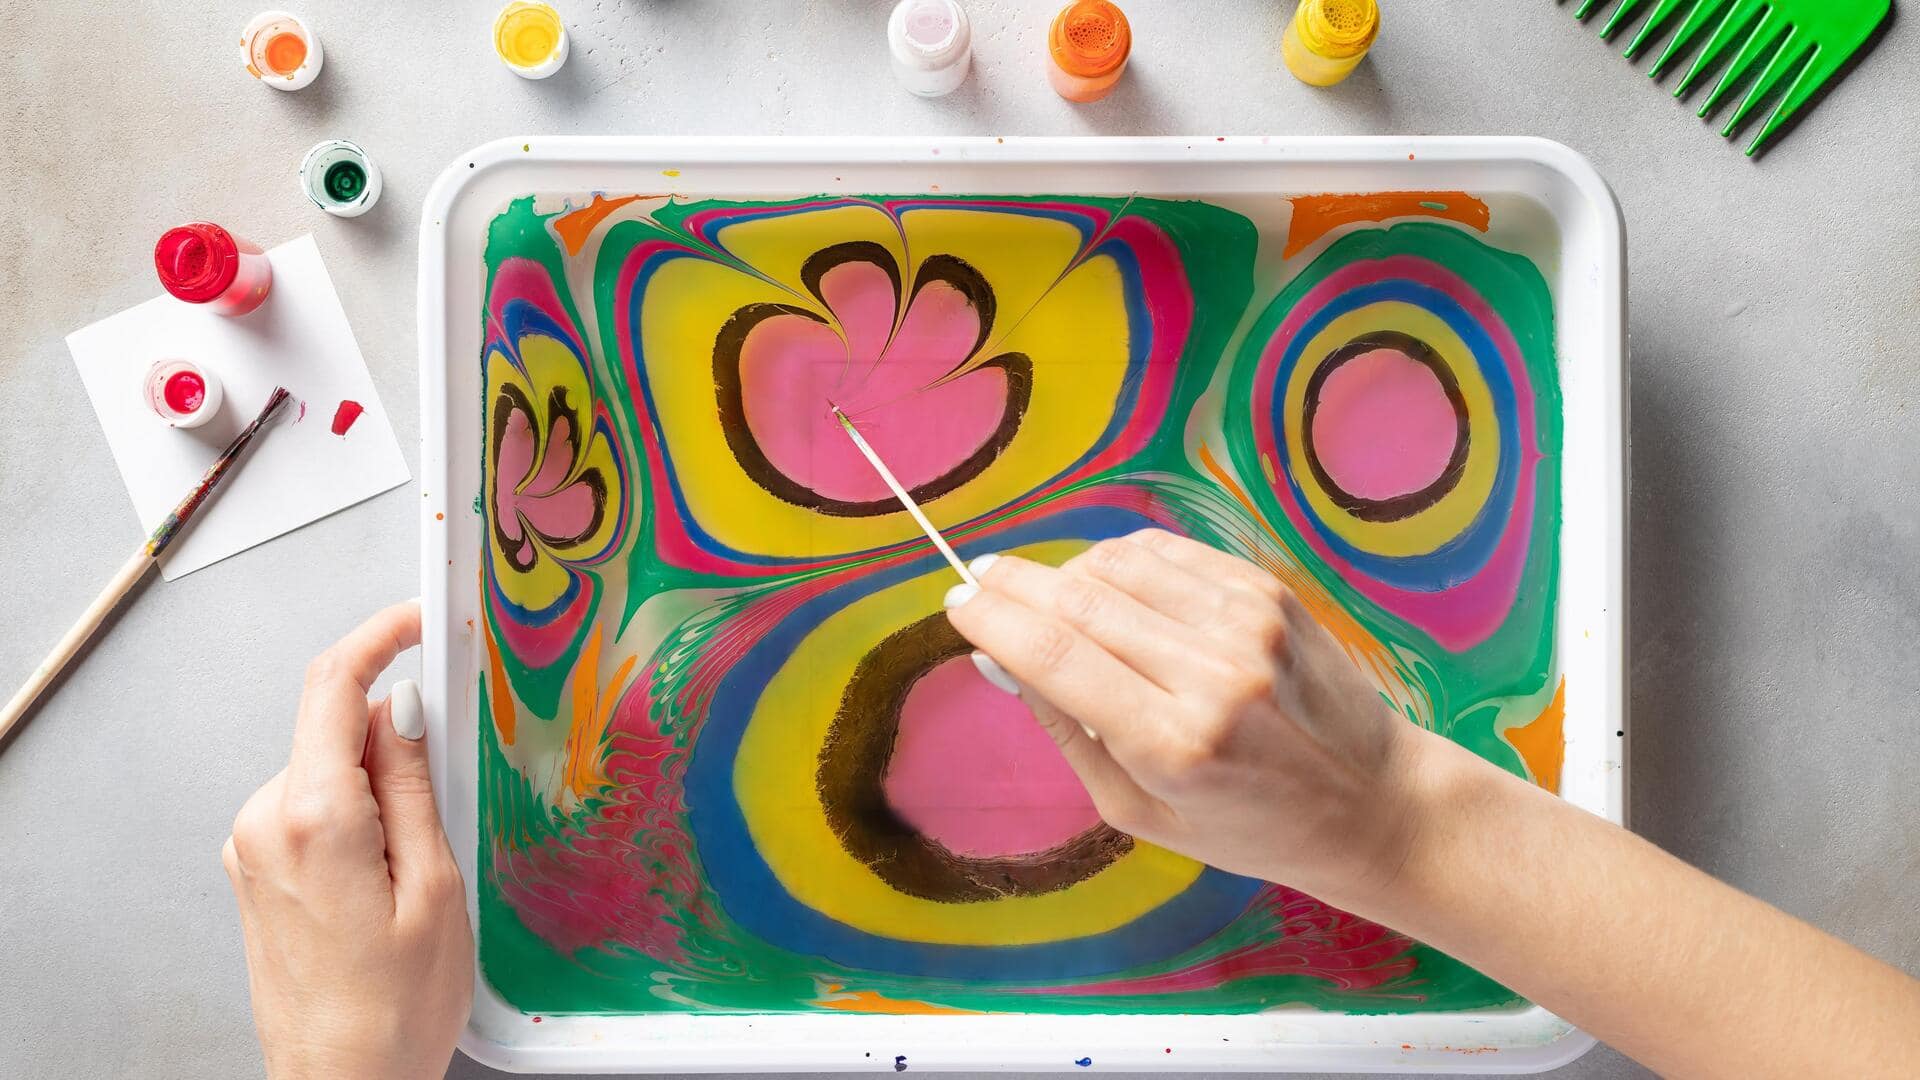
Paper marbling is a mesmerizing art form that involves floating paint on a liquid surface and then transferring the design onto paper. The resulting patterns are reminiscent of natural marble or other types of stone, hence the name marbling. This centuries-old technique provides a meditative escape, allowing you to unwind and express your creativity through a symphony of swirling colors.
Preparation
Gather your materials first
Before you dive into the world of paper marbling, gather all your essentials. You'll require acrylic paints, a shallow tray larger than your paper, carrageenan (for thickening the water), combs, styluses for creating patterns, alum (for treating the paper), and synthetic or thick paper. Having your workspace set up with these will make the process a breeze.
Mixing
Mixing your marbling medium
To create your marbling medium, combine one teaspoon of carrageenan with two liters of water. Blend until smooth, ensuring there are no lumps. Allow this mixture to rest for 12 hours so the bubbles can settle. This produces a thick, gel-like base that holds the paints on the surface, allowing for the formation of complex patterns.
Paper prep
Preparing your paper
Treating your paper with alum is a crucial step for successful marbling as it improves paint adhesion. Dissolve one tablespoon of alum in one liter of warm water and apply it evenly to your paper. Allow the papers to dry completely before marbling. If you miss this step, the paper won't hold the designs properly.
Marbling
Creating your masterpiece
Once your tray and papers are prepared, drop acrylic paint onto the carrageenan mixture. Swirl the paints with combs or styluses to create patterns. Gently lay a sheet of prepared paper on the surface, ensuring contact, then lift away to reveal your design. If necessary, rinse under water and lay flat to dry.
Experimentation
Experimenting with techniques
DIY paper marbling is all about letting loose and trying new things. Swirl colors together, layer paints for depth, and don't be afraid to get a little messy. Use tools like rakes or straws to create cool effects. Remember, practice makes perfect! Not every piece will be a masterpiece, but each one is a step toward mastering this fun art form.