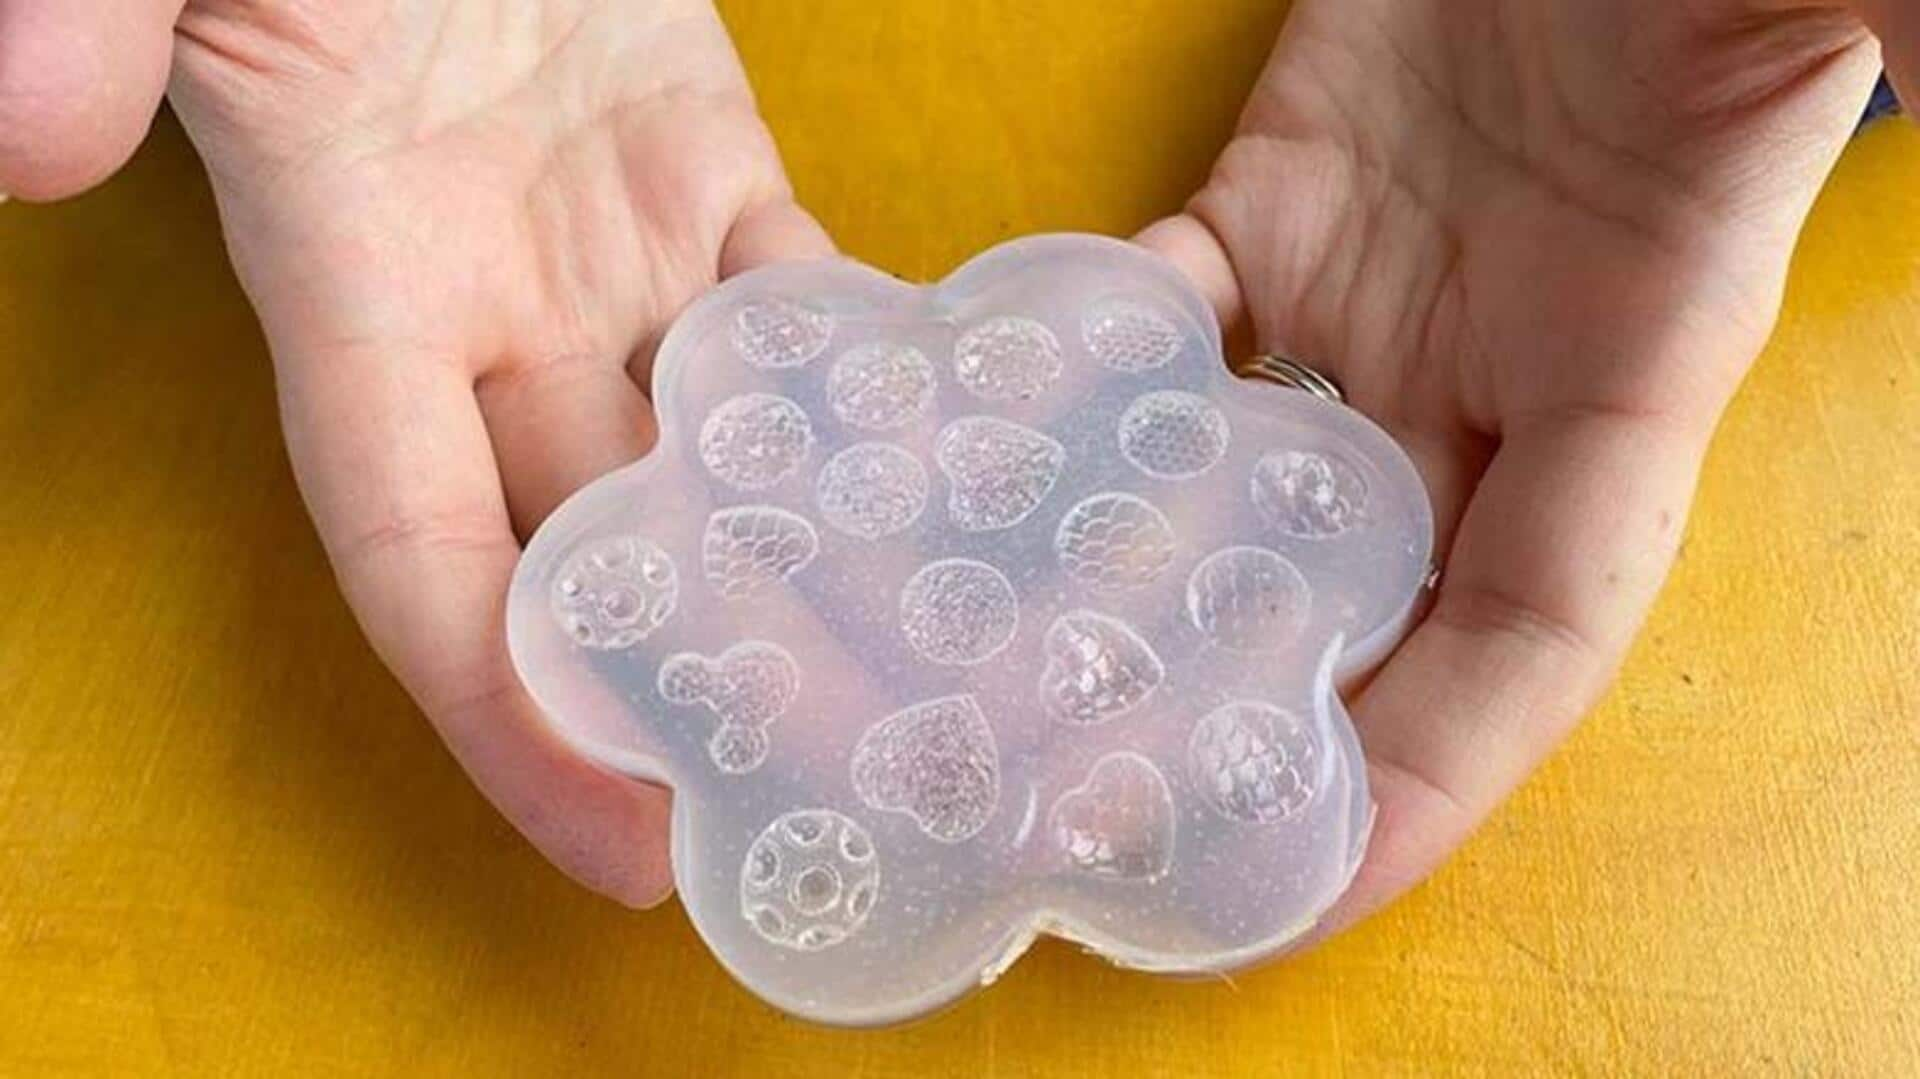
How to make silicone molds at home—easy guide!
What's the story
Creating your own silicone molds at home opens up a world of possibilities for unique projects, such as making your own soaps or chocolates.
This guide will walk you through choosing materials, setting up your models, and popping out your finished creations.
With a bit of patience and some trial and error, you'll be making pro-quality molds in no time!
Material selection
Choosing the right silicone
The first step in making a silicone mold is choosing the right kind of silicone.
There are two primary types: tin-cure and platinum-cure.
Tin-cure silicone is cheaper and cures faster, but it can shrink a bit and doesn't last as long.
Platinum-cure silicone is pricier but provides excellent dimensional stability and heat resistance.
Choose based on your project needs and how much you're willing to spend.
Model prep
Preparing your master model
Before you start pouring silicone, you need to prep your master model. Make sure it's super clean and doesn't have any dust or random stuff on it.
If you're using something porous like wood or plaster, you should use a sealer. This stops the silicone from sticking or making annoying bubbles.
For non-porous models, a release agent is your friend. It'll help you pop that mold out way easier later.
Mix-pour technique
Mixing and pouring silicone
Getting the silicone mix right is key. Most come in two parts that require a thorough stir at a specific ratio, typically one:one or 10:1 by weight or volume.
Pour it gently: Pour the silicone slowly over your model from one corner. This allows it to naturally cover the surface and minimizes air bubbles.
Patience is a virtue: Follow the manufacturer's instructions for curing time.
Demold process
Demolding your creation
Once fully cured, it's time to carefully remove your mold from around the master model.
Start by gently pulling away edges of the mold from the model and then slowly work around until you can lift off the mold entirely without tearing it or damaging delicate parts of your design.
Patience here ensures that both your mold and master remain intact for future use.
Mold care
Maintaining your silicone mold
To keep your silicone mold in good shape, clean it with mild soap and warm water immediately after use.
Steer clear of abrasive cleaners that can damage the surface.
Store the mold flat in a cool, dry place out of direct sunlight. UV light can break down silicone, shortening the lifespan of your molds for future projects.