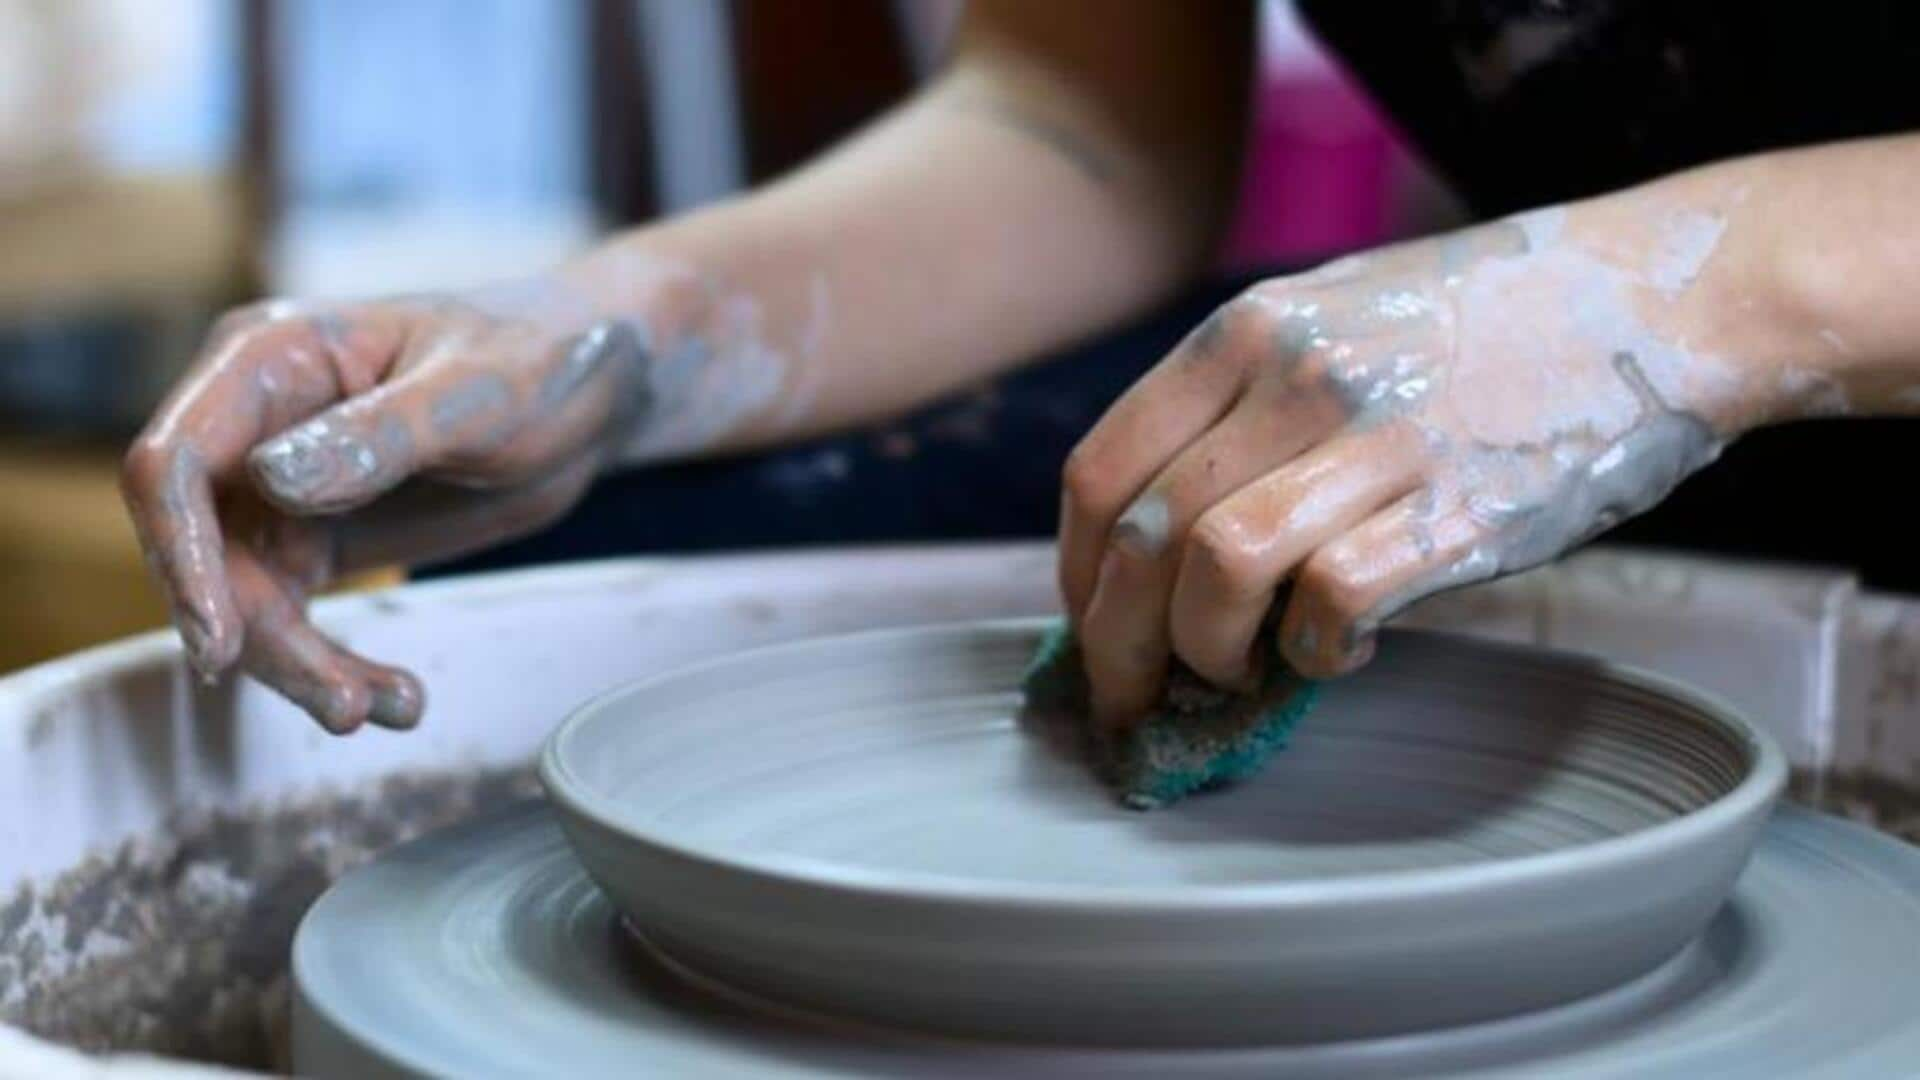
Guide to making pottery for natural home decor
What's the story
Discover the art of pottery-making and add an elegant touch to your home decor. This guide will lead you through the captivating realm of pottery, covering various ceramics and guiding you in crafting some stunning pieces. Put on your artist's hat, explore essential techniques, and gather the necessary tools and materials to embark on this rewarding craft.
Pottery
What is pottery?
Pottery involves molding clay, earthen minerals, and water into various forms, followed by high-temperature kiln firing for durability. Techniques like wheel throwing, slip casting, and hand-building methods like slab rolling create diverse functional and ornamental ceramics. The rich history and versatility of pottery are very vast and using it as a creative outlet for crafting objects ranging from tableware to intricate sculptures is fascinating.
Examples
Examples of different pottery types
Types of pottery include earthenware, stoneware, and porcelain, each utilizing distinct clay compositions. Earthenware, with its porous texture, has historical significance, while porcelain stands out for its strength and heat resistance. Stoneware, coated in enamel, combines practicality with earthy aesthetics. You must know that these types are employed in crafting everyday items and artistic expressions.
Tools
Basic tools & materials
Establishing a home pottery studio requires an understanding of kilns, with electric and gas options differing in setup. The pottery wheels on the other hand play an immense role in achieving radial symmetry. Kilns, clays, and glazes, along with their varied types, applications, and safety measures are very important to ensure an enjoyable and secure pottery-making experience.
6 steps
How to make pottery at home in six steps
Start the process by setting up a designated workspace with essential tools like a potter's wheel, towels, and apron. Choose the right clay for your project, considering options like earthenware, stoneware, or porcelain. Prepare your workspace for efficient throwing on the wheel, ensuring proper ventilation and cleanliness. Follow step-by-step instructions to shape, dry, trim, bisque fire, glaze, and glaze fire your pottery with precision.
Equipment
Equipment needed
Equip yourself with the necessary tools, including a potter's wheel, towels, sponges, trimming tools, and a kiln. It's okay if you don't get them at first, with each try you will understand the role of each tool better in the pottery-making process, from shaping clay to the final firing stages. Create a well-organized workspace with shelves and tables, ensuring convenience throughout the crafting journey.
Choosing
Choosing your clay
Explore the characteristics of earthenware, stoneware, and porcelain clays, guiding your choice based on the desired outcome and your skill level. Understand the importance of wedging clay to eliminate air bubbles and ensure a smooth crafting experience. Gaining insights into the properties and handling nuances of each clay type, will assist you in making informed decisions for your pottery projects.
Prepping
Prepping your workspace
Set the stage for successful pottery-making with a sturdy, non-stick surface and proper ventilation in your workspace. Safeguard your health by minimizing exposure to clay particles. Always use natural and no chemical clays. Ensure an organized setup with easy-to-clean floors, facilitating efficient and enjoyable crafting sessions. Gather all necessary hand tools, providing quick access during your pottery wheel sessions
Wheel
Throwing pottery on the wheel
Start by weighing and shaping the clay to secure it on the potter's wheel. Follow it by precisely centering, coning, creating holes, and skillfully pulling clay to fashion symmetrical pots. Try to be patient and enjoy this step and let all the calm run through you with some serene music in the background. Finally detach and dry your masterpieces, for the subsequent crafting stages.
Drying and trimming
Drying and trimming your pottery
Navigate through the drying stages, reaching the greenware phase before proceeding to trim. Safely remove excess clay using needles or trimming tools, ensuring a stable base for your pottery. It is very important to ensure smooth trimming to enhance the aesthetics and functionality of your creations. Set the foundation for the subsequent bisque firing process.
Bisque firing
Bisque firing your pottery
Guide your pottery to increased durability through bisque firing. Explore temperature and timing considerations based on the clay type, employing the cone system as a reliable measure. Understand the role of cones in ensuring even kiln heating and determining the appropriate firing range. Pay attention to bisque firing well, as it is a crucial step toward creating resilient and stable pottery pieces.
Glazing
Glazing and glaze firing
Start on the final phase of pottery-making by glazing your bisque-fired creations. Challenge your creativity with a variety of glaze options, from colorful patterns to mineral reactions. Follow a systematic process of mixing, applying, drying, and kiln-loading for glaze firing. Witness the transformation of your pottery into strong, waterproof, and visually stunning home decor pieces.