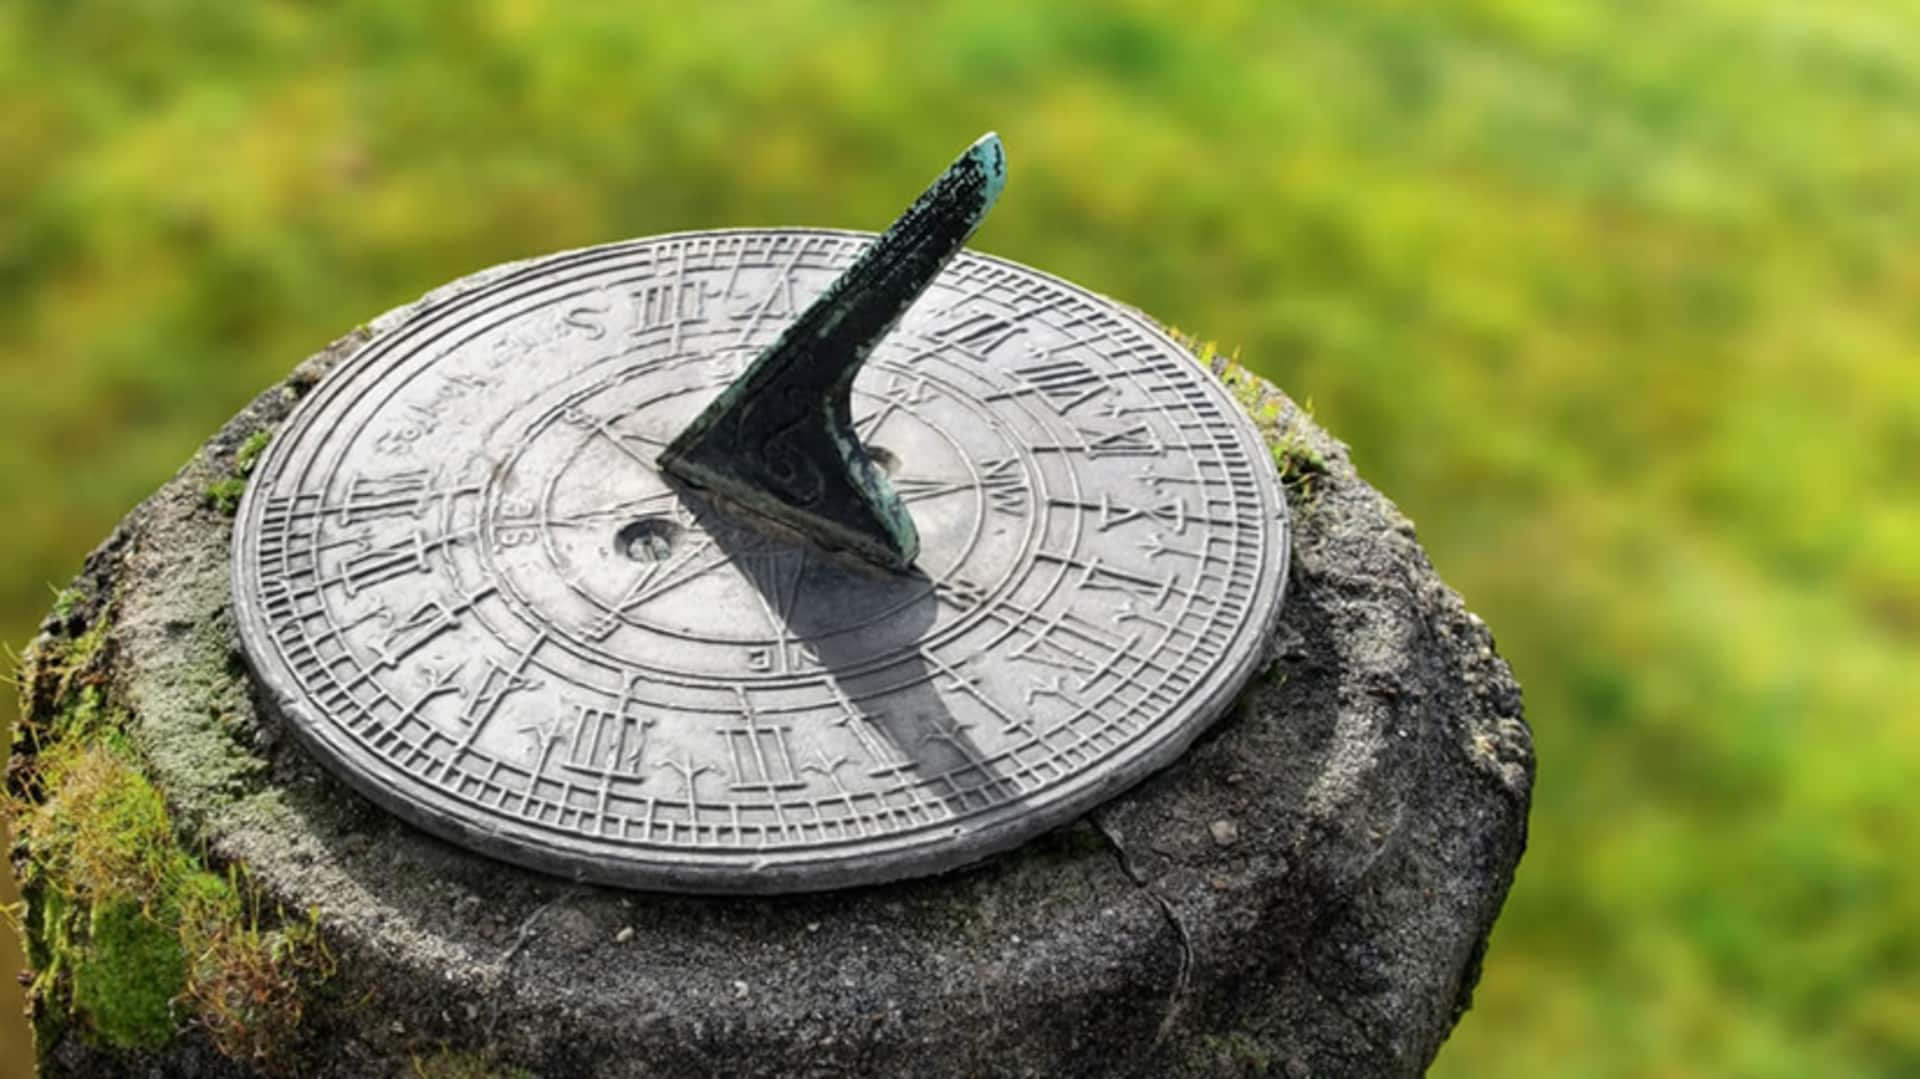
Create your own sundial with this DIY guide
What's the story
Making a sundial is a peaceful and educational activity that blends art, history, and science. This ancient time-telling technique provides a special connection to the rhythms of the natural world. By creating your own sundial, you not only learn about how people kept track of time before clocks were invented but also participate in a meditative craft that beautifies your outdoor space.
Materials
Choosing the right materials
The first step in making a sundial is choosing the right materials. You need a flat, strong base - think a wooden plank or a big rock. The gnomon, which casts the shadow that tells time, should be made of metal or wood. Pick materials that can withstand being outside, since your sundial will be exposed to all kinds of weather.
Geometry
Understanding sundial geometry
To make sure your sundial keeps time like a champ, you need to get the geometry right. The gnomon's angle has to line up with your latitude. So, if you're at 40 degrees latitude (either north or south), you want that gnomon leaning back at a cool 40 degrees from the base. Precision is your friend here. The more accurately you measure, the better your sundial will work.
Crafting
Crafting and calibration
Once you have your materials ready and the angles figured out, you can start building your sundial. Attach the gnomon carefully at the right angle using a strong adhesive or screws if you're using wood. Marking out the hour lines is a bit tricky and needs to be done with patience and accuracy. Use an online calculator or a dedicated sundial app to get the correct angles for your location.
Placement
Placement and observation
Selecting the ideal location for your DIY sundial is part of the fun. Opt for a spot that gets plenty of sunlight all day long, ensuring trees or buildings don't throw their own competing shadows on it. Then, once it's set up, watch how it marks time throughout different days and seasons, tweaking it here and there for accuracy.