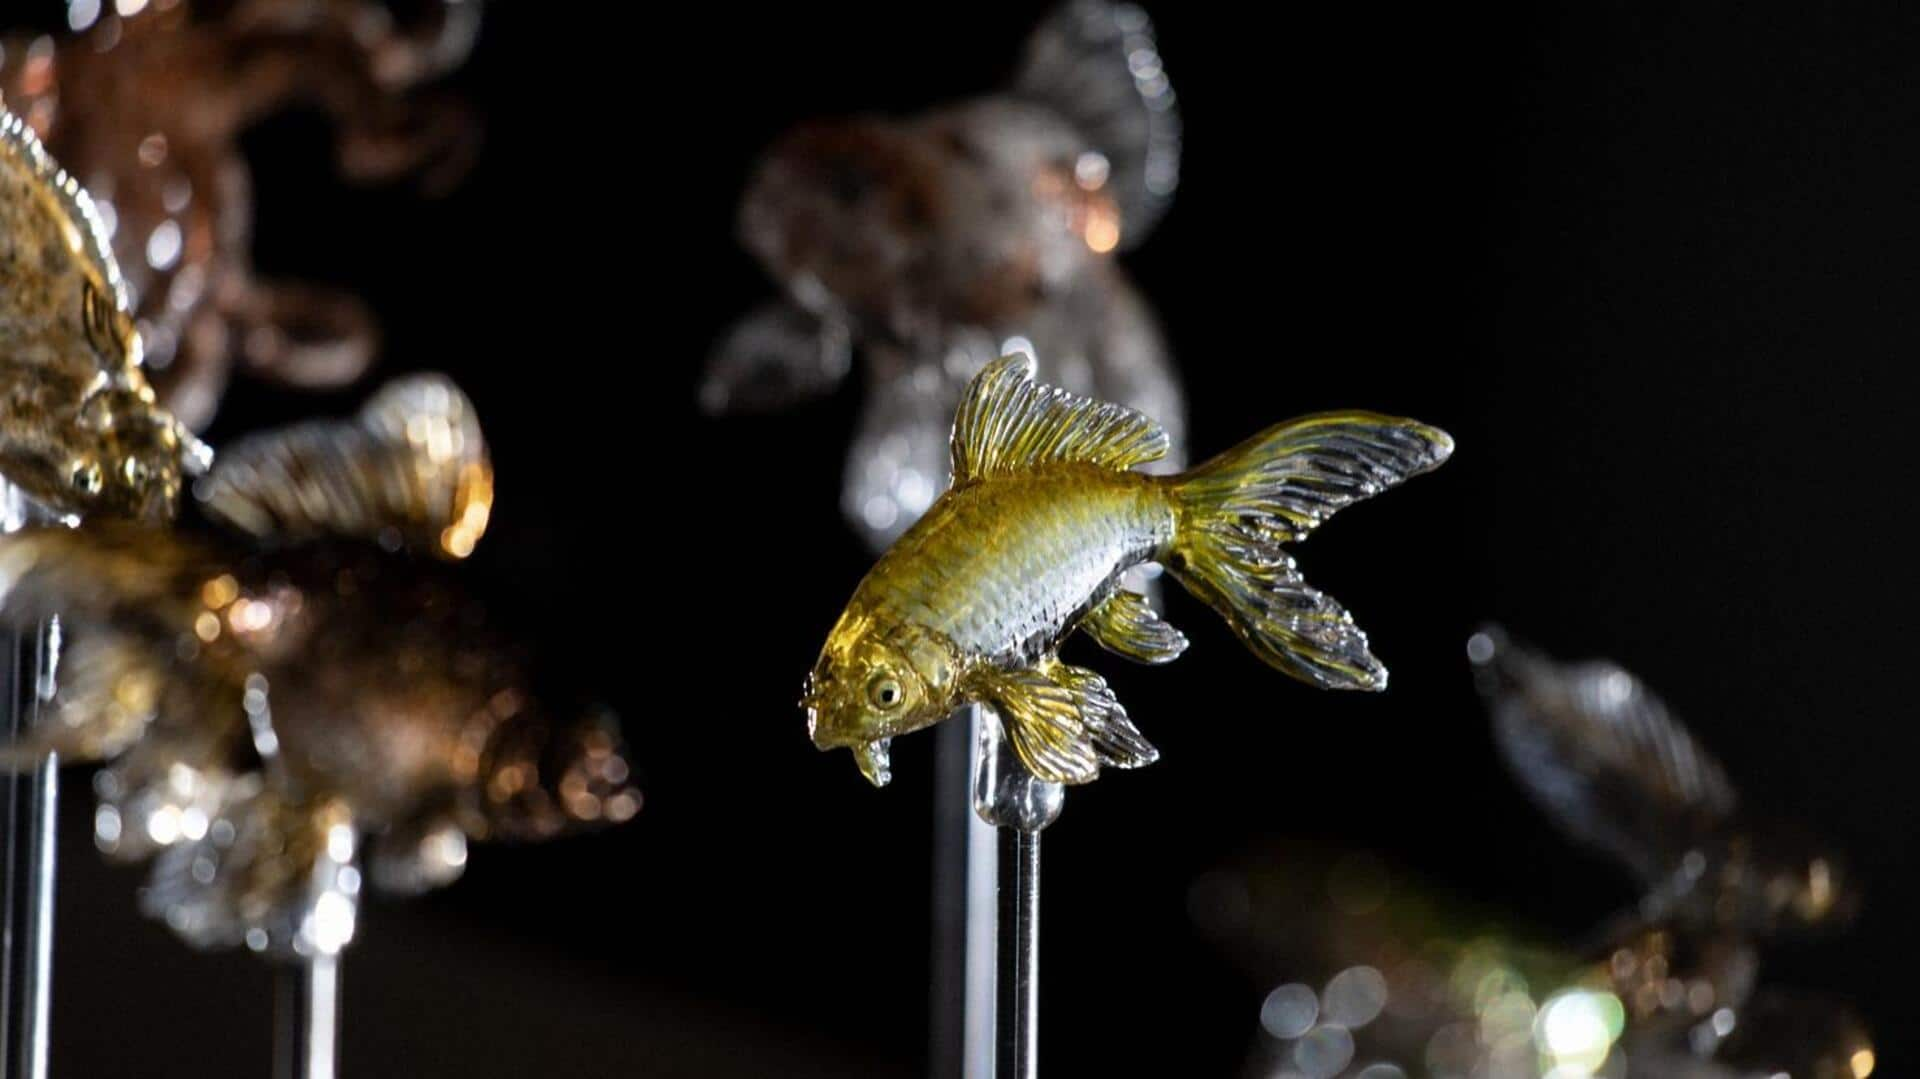
Exploring sugar sculpture craftsmanship
What's the story
Sugar sculpture is the sweet art of shaping sugar into intricate designs. You have likely admired these edible masterpieces in culinary competitions or at fancy events. This craft combines artistry with culinary expertise, resulting in breathtaking pieces that are as beautiful as they are delicious. Whether it's a delicate decoration or a grand centerpiece, sugar sculpture has a long tradition and demands a high level of skill, precision, and patience.
Origins
The history of sugar art
Sugar art traces its roots back to medieval times, where it was the centerpiece of royal feasts, serving as a symbol of power and wealth that awed guests. Naturally, it was a luxury reserved for the elite, considering the high cost of sugar. As sugar became more widely available, this ephemeral art form spread across Europe and Asia, taking on new forms and techniques influenced by local cultures.
Equipment
Tools of the trade
To get started with sugar sculpture, you'll need some essential tools. Gather a silicone mat for shaping and cooling your sugar creations, a thermometer to precisely control temperature (you'll be working with hot stuff, ranging from 90 degrees Celsius to 160 degrees Celsius!), sculpting tools for adding those intricate details, and gloves to keep your hands safe from the heat. Remember, quality tools make a big difference!
Crafting methods
Techniques in sugar sculpture
The art of sugar sculpture involves four main techniques: pulling, blowing, casting, and pressing. Pulling involves stretching sugar into delicate shapes like flowers. Blowing creates hollow shapes by pumping air into molten sugar, similar to glass blowing. Casting involves pouring hot sugar into molds to create intricate designs, while pressing involves shaping or cutting out designs from cooled sheets of sugar. All of them demand utmost precision.
Temperature tips
Mastering temperature control
Managing temperature is the key to mastering sugar. Different textures depend on precise temps; think soft ball stage (234 degrees Fahrenheit to 240 degrees Fahrenheit) for gooey fillings, or hard crack stage (300 degrees Fahrenheit to 310 degrees Fahrenheit) for building those rock-solid sculptures. A good candy thermometer is your best friend here, helping you hit those sweet spots with confidence.
Coloring tips
Creative coloring techniques
Coloring your sculptures adds a whole new dimension of life, but you need to be a bit cautious. If you add liquid food coloring, it can mess up the consistency. Choose powdered or gel-based colors instead. They let you create bright shades without changing the texture too much. Have fun and experiment with blending colors! You can create cool, unique shades that way. Your pieces will really pop!