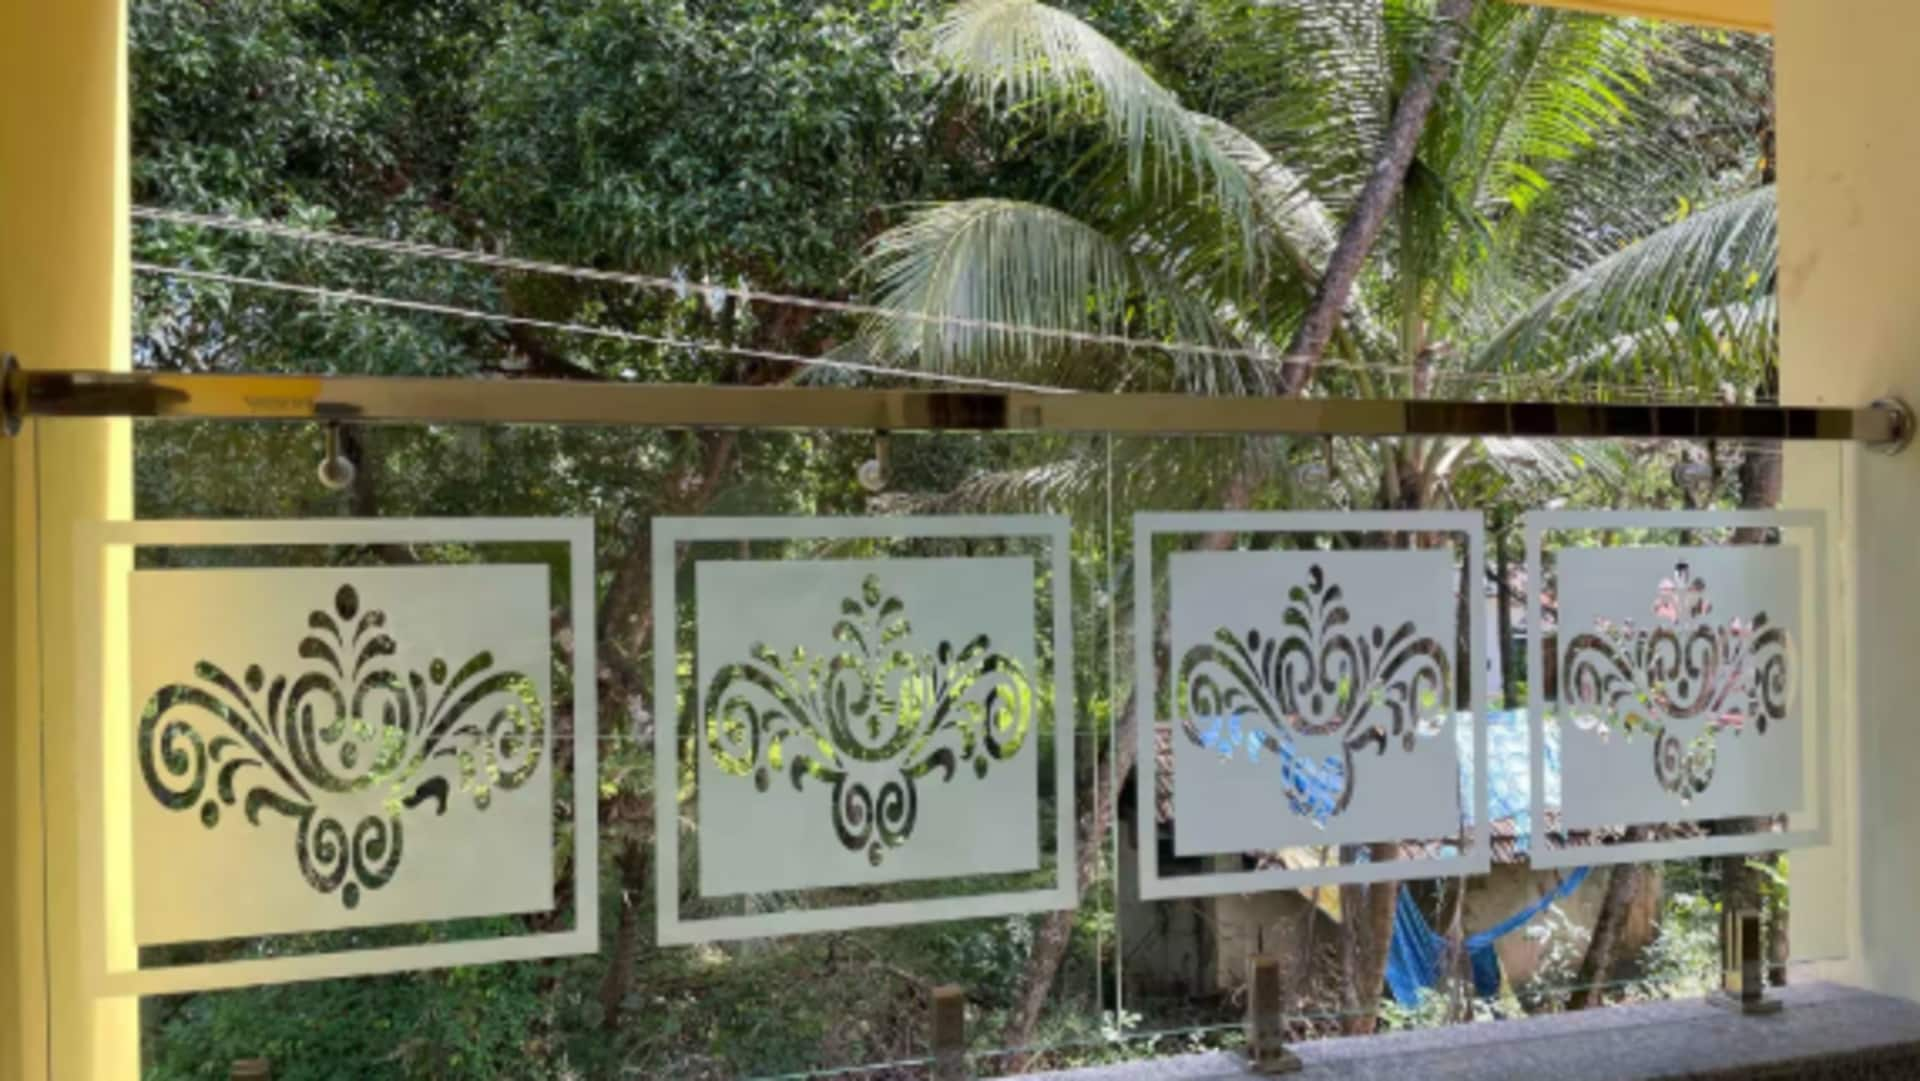
Cultivating patience with DIY glass etching
What's the story
DIY glass etching is a unique craft that involves using an acidic, cream-based product to create frosted patterns or designs on glass. This activity not only fosters creativity but also provides a valuable lesson in patience and precision. It demands meticulous planning, a steady hand, and a positive attitude to embrace the errors. So, it is a perfect way to cultivate patience, all while creating beautiful, custom glass pieces.
Getting started
Understanding the basics of glass etching
Before you dive into the world of glass etching, get a handle on the essentials. You're going to need etching cream (around $10-$15 a bottle), vinyl for making stencils, and some safety equipment like gloves and goggles. Learning how to work with these materials safely and effectively is the first step to becoming a pro.
Planning phase
Designing your first project
Take your time in the design phase of glass etching. Selecting the perfect design for your skill level and glass piece might take a while. Beginners are advised to stick to simple patterns or letters. Transferring your design onto vinyl requires a steady hand and attention to detail, whether you're using computer software or drawing by hand. And, it's okay to mess up!
Execution
Applying etching cream carefully
After your stencil is on the glass, make sure to apply the etching cream with care. Excess cream can lead to uneven etching, while too little might not be effective. Let the cream sit for five minutes, then wearing gloves rinse it off with warm water. Seeing how different times affect the etch, you learn patience via trial and error.
Detail work
Finishing touches make perfection
After rinsing, remove your stencil gently and clean any remaining adhesive from the glass surface. At this point, examine your work closely; minor flaws can often be fixed with a bit more etching cream applied directly with a small brush or toothpick. This is a great lesson for kids to learn that a little bit of patience and fine tuning can make all the difference.
Reflection
Reflecting on your experience
Once your project is finished, don't forget to sit back and bask in all the knowledge you've gained throughout the process. From planning and designing to executing and tweaking things as you went along, you've learned a lot! Each project teaches you patience as you wait for the results, positivity as you deal with the unexpected, and the wisdom to plan for the future.