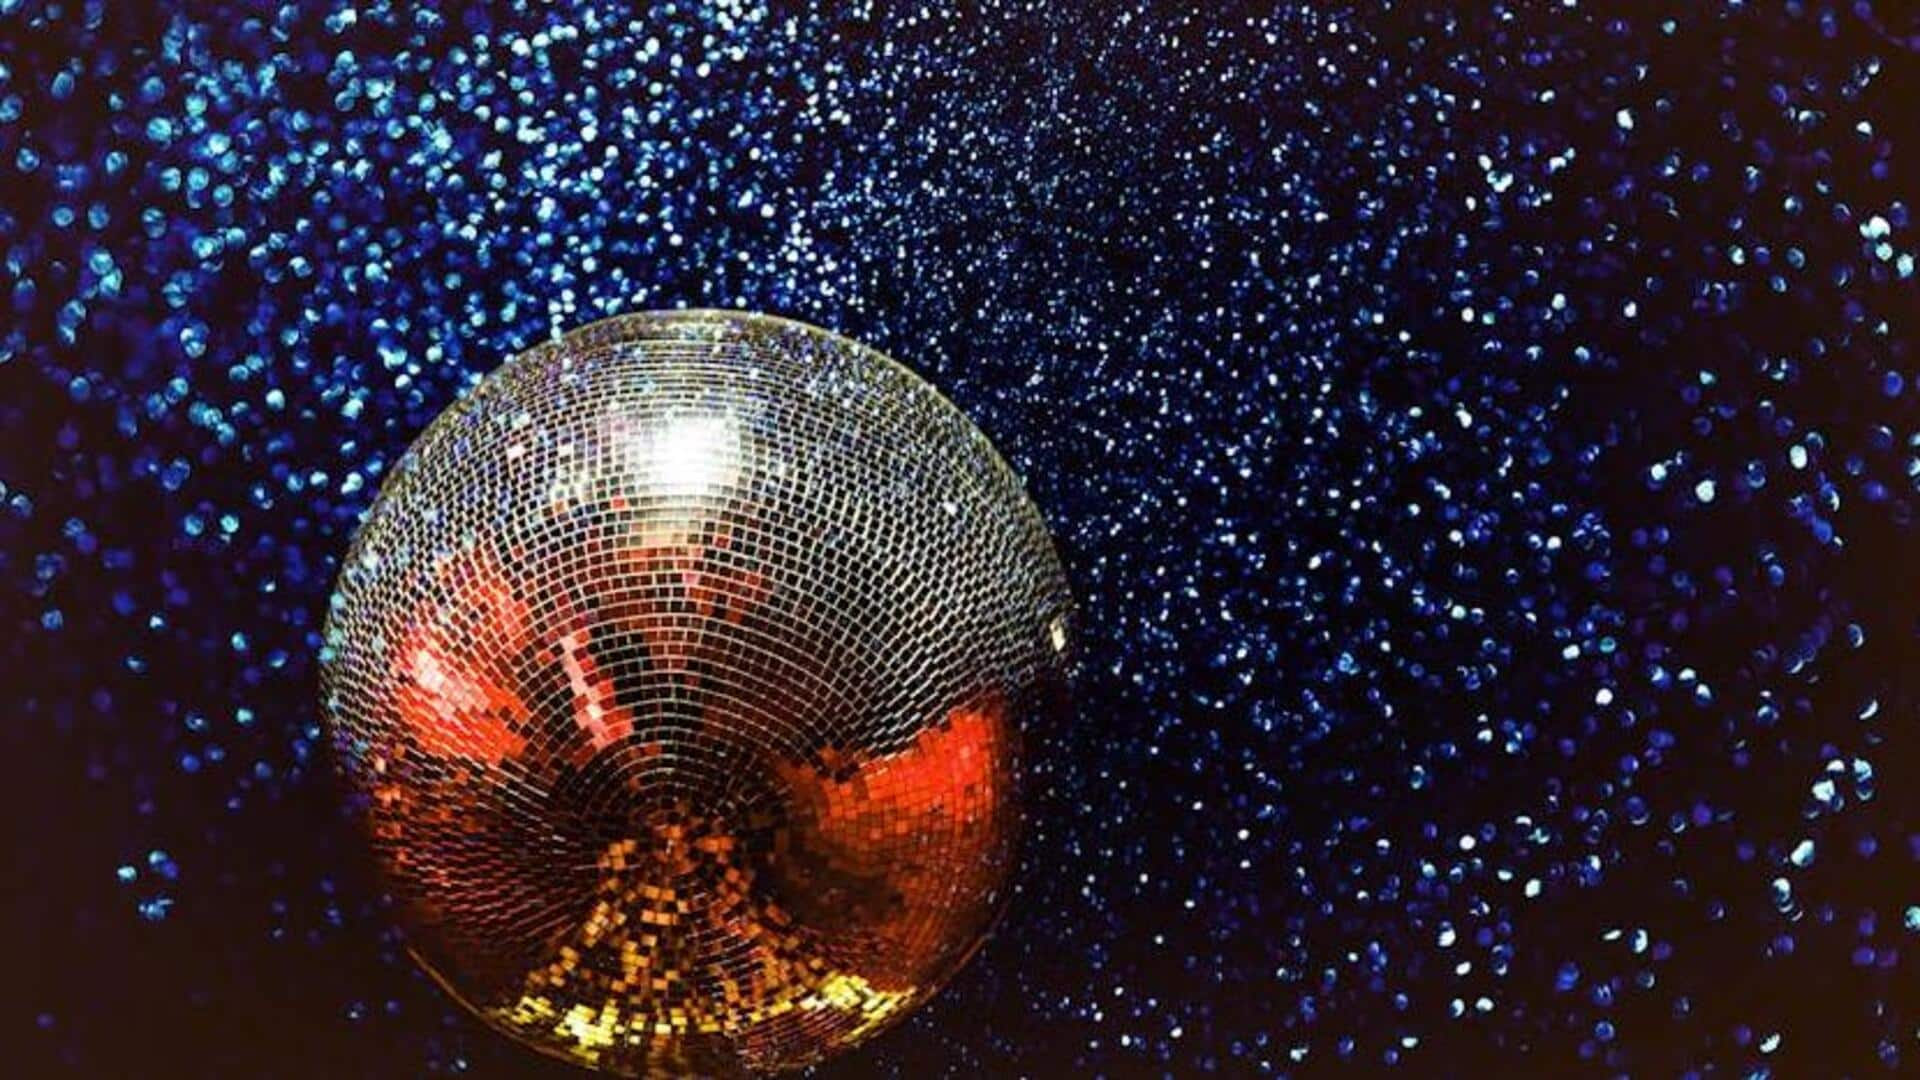
DIY activity: How to craft the perfect disco ball
What's the story
Disco balls, the glittering icons of dance floors and parties, are surprisingly fun and easy to make at home. This article delves into the craft of DIY disco balls, providing tips, material suggestions, and techniques for both beginners and seasoned DIY enthusiasts. From choosing the perfect mirrors to getting that irresistible sparkle, we walk you through everything you need to create a stunning centerpiece.
Materials
Selecting quality materials
The first step in making a disco ball is choosing high-quality materials. Use a pre-formed polystyrene sphere or a balloon with papier-mache for the base. Small square mirrors, which can be purchased in bulk from craft stores or online, create the perfect reflective surface. A strong, waterproof adhesive is crucial to ensure the mirrors stay in place over time.
Cutting
Cutting mirrors to size
Once you have your supplies, the first step is cutting the mirrors into small squares (if they aren't pre-cut). This process requires careful attention and a steady hand. Using a glass cutter will ensure clean breaks without damaging the mirror tiles. Always wear safety gloves and goggles during this step. The edges can be sharp, and you want to avoid any flying pieces of glass.
Adhering
Adhering mirrors onto the sphere
Gluing mirrors onto your ball requires some strategic placement to ensure an even distribution of light reflection. Start by putting adhesive on one mirror at a time and sticking them onto the ball, making sure there are no gaps between each piece. It's advisable to start at one point and work your way around systematically. This way, you won't end up with awkward spacing or alignment issues as you proceed.
Coverage
Achieving uniform coverage
Ensuring complete and even coverage with no gaps is key to achieving that iconic disco ball effect. As you near completion of your first layer of mirrors, examine your sphere carefully for any gaps or uneven areas that may require custom-cut pieces to fit perfectly. Often, smaller pieces are needed near the top and bottom, where the curvature is more extreme.
Hanging
Final touches and hanging tips
Once mirrors are attached and dry (after 24 hours), get ready for hanging. Make sure to use a secure hanging method, like a sturdy hook or eyelet screw, particularly if you used papier-mache. Give it a gentle swing to test its stability and ensure safety once it's hung amidst lights and music.