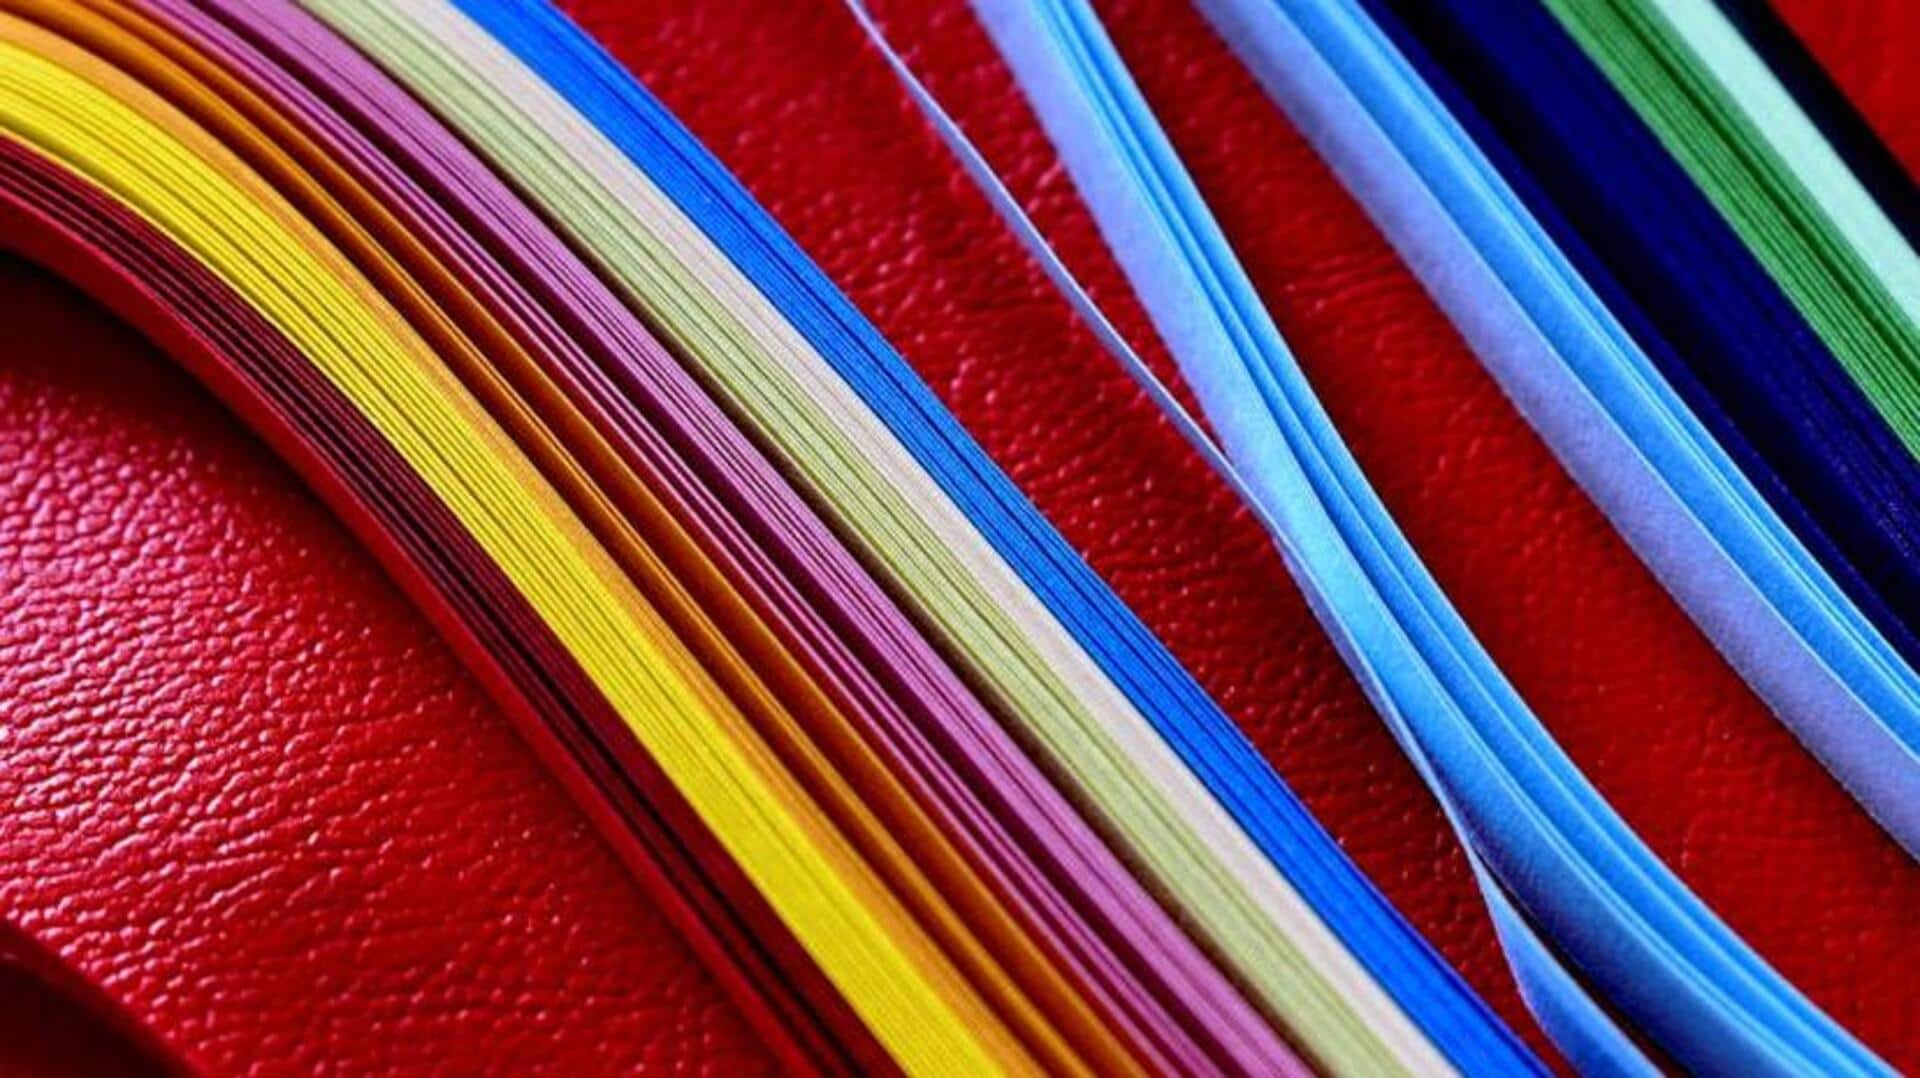
Crafting elegance with quilling paper artistry
What's the story
Quilling paper artistry is the craft of rolling, shaping, and gluing thin paper strips to create intricate and decorative designs originated during the Renaissance and has since evolved into a cherished hobby and art form. This article covers everything you need to know to get started with quilling, including what materials you'll need, which techniques to master, beginner-friendly projects, and tips for achieving precision in your creations.
Getting started
Essential tools and materials
To start quilling, you need a few essential tools: paper strips (ranging in width from one-sixteenth inch to one inch), a coiling tool, fine-tip glue, and a workboard. You can get a starter kit, which comes with all the basics, for $20-$30. That's all it takes! With this small investment, you'll be ready to create beautiful, intricate designs and dive into the world of quilling.
Techniques
Mastering basic shapes
Quilling is all about mastering basic shapes - coils, scrolls, marquises, squares, teardrops - and then combining them to create beautiful designs. Begin with tight coils, then progress to shapes like teardrops and marquises. This develops your dexterity and trains you on how much glue to use - crucial for keeping your artwork neat!
First projects
Beginner-friendly projects
Beginners who feel confident with basic shapes should start with simple projects like greeting cards or wall art. These projects require minimal elements but still encourage creativity. Creating floral or geometric designs lets you apply the shapes you've learned in practice. This builds confidence while also honing your skills for more complex compositions.
Tips
Achieving precision in quilling
Attention to detail is key in quilling for neat, beautiful designs. Use tweezers for precise placement of small pieces. Maintain consistency in coil sizes with a ruler or circle sizer. Apply glue sparingly to prevent soggy artwork. The aim is to use just enough glue to secure the pieces together without any seeping out around the edges of your design.