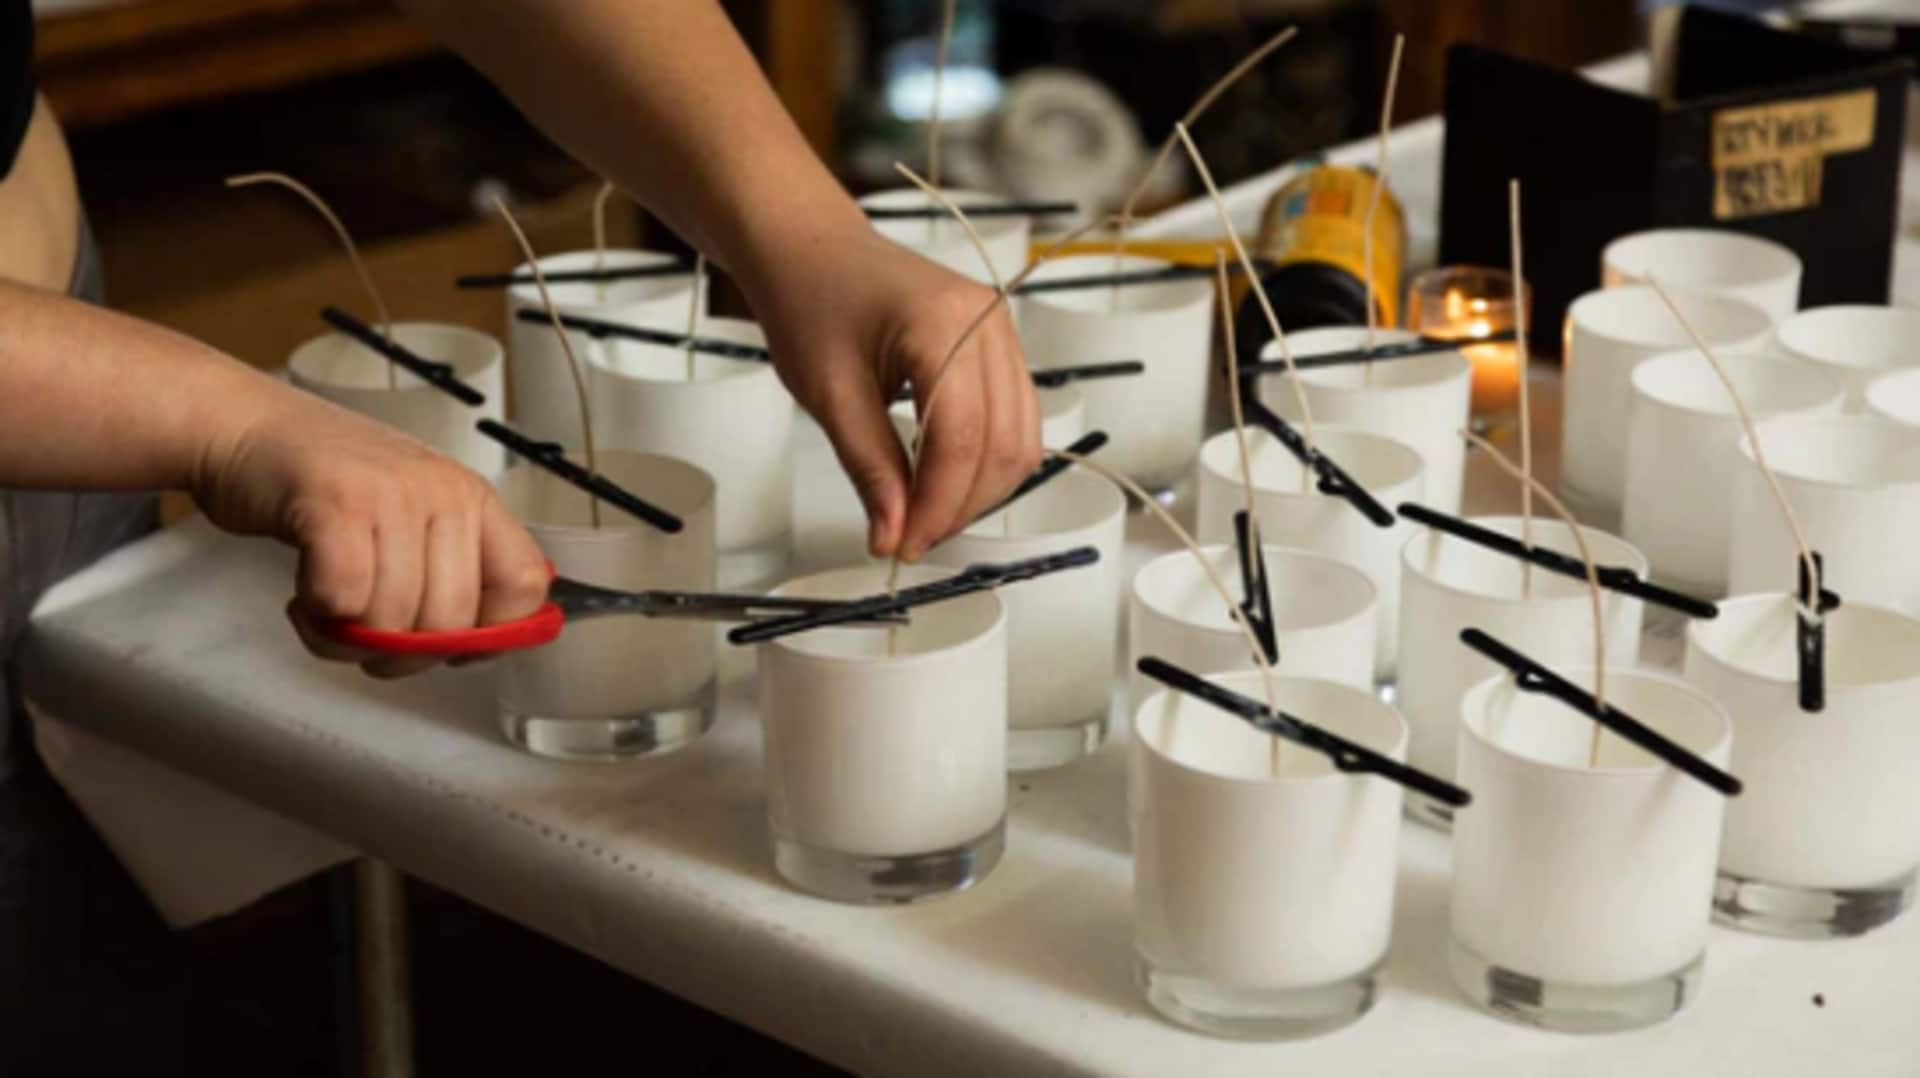
Steps to unwind with candle-making
What's the story
Candle-making is a creative and therapeutic activity, ideal for crafting personalized items for your home or as gifts.
This process involves melting wax, mixing in colors and fragrances, and setting the wick.
For beginners, starting with simple techniques can lead to fulfilling results.
This guide covers the basics of candle-making, ensuring a smooth initiation into this rewarding craft.
Wax selection
Choose your wax wisely
Choosing the right wax is crucial in candle-making. Options include soy, paraffin, and beeswax.
Soy wax is favored by beginners for its eco-friendly properties and ease of use. It offers a cleaner, longer burn than paraffin, improving indoor air quality.
Each wax type has a unique melting point and characteristics, influencing your candle's final appearance and burn quality.
Tool kit
Gather essential tools
Before starting, ensure you have all necessary tools. A double boiler is essential for melting wax safely.
If one is unavailable, a makeshift version with a large pot and a smaller pot or heat-safe bowl inside works.
A thermometer is crucial to accurately monitor the wax's temperature, as different waxes require specific temperatures for adding fragrance oils.
Customization
Incorporate scents and colors
Adding scents and colors personalizes your candles.
For fragrances, select essential oils or fragrance oils made for candle-making, ensuring safety when burned.
The scent concentration typically ranges from six percent to 10% of your melted wax's total weight.
For color, sparingly use dyes designed for candles to achieve your desired shade without compromising the candle's burn quality.
Wick placement
Setting up your wick
The wick is crucial for your candle's burning process.
Its thickness must match your container or mold size; larger candles need thicker wicks for an even burn.
Secure the wick's end at the bottom center with melted wax or an adhesive dot.
Then, pour your melted mixture slowly around it, ensuring it's properly set for optimal burning.
Final touches
Cooling and curing
After pouring the scented and colored wax into molds or containers with wicks, let them cool at room temperature.
Avoid direct sunlight to prevent uneven surfaces or cracks.
Once solid, trim the wick to a quarter of an inch for optimal burning.
Candles need to cure for at least 24 hours before use, allowing components to bind and enhance scent throw during burning.